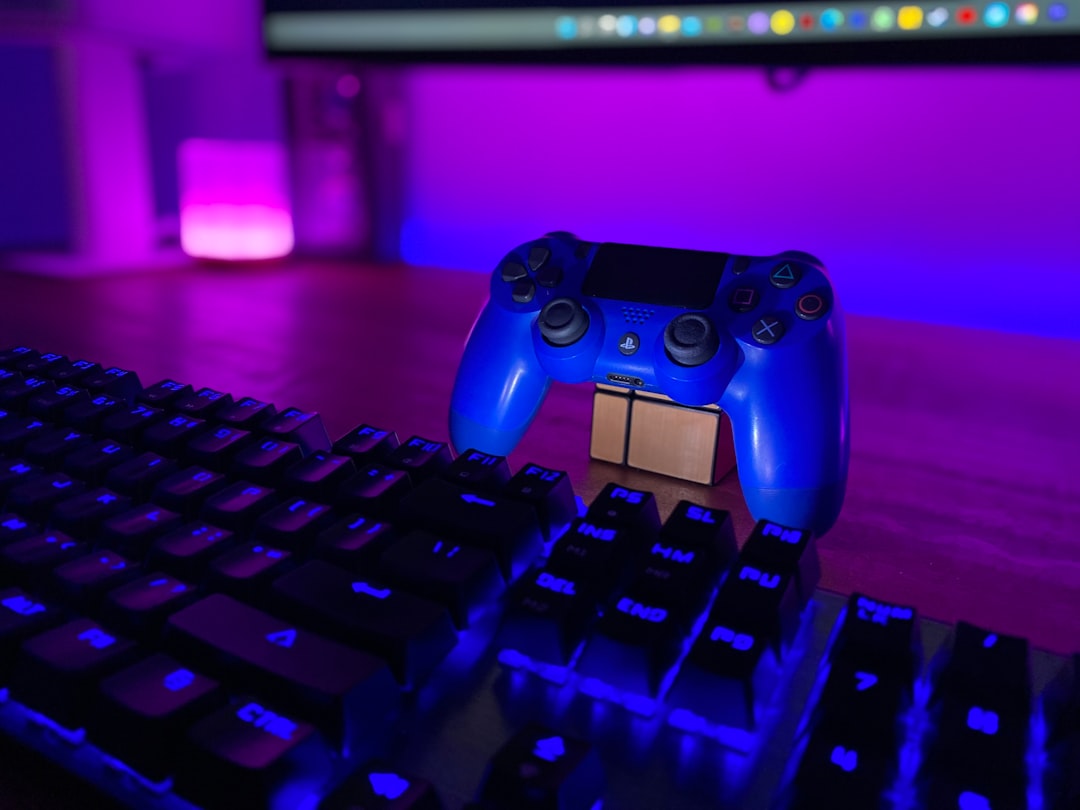
Building a gaming PC is easier when you treat it as a compatibility and budgeting exercise rather than a race to buy the most powerful parts. This guide gives you a repeatable workflow for choosing components, checking that they work together, assembling the machine safely, setting it up, and planning upgrades. It also includes a maintenance checklist and a simple way to recalculate your build when prices, drivers, games, or hardware requirements change.
Overview
A good gaming PC balances four things: the games you want to play, the resolution and frame rate you expect, the total budget, and the upgrade path you want later. The graphics card usually has the greatest effect on gaming performance, but it cannot compensate for an unsuitable power supply, inadequate cooling, limited storage, or a processor and motherboard that do not match.
Start by defining the target rather than selecting parts from a list. Write down the games you play or expect to play, your monitor resolution and refresh rate, whether you stream or edit video, and whether the computer will also be used for work. A PC designed for competitive games at a high refresh rate has different priorities from one intended for visually demanding single-player games at a higher resolution.
Keep the budget honest by including the complete system. That means the case, power supply, operating system if needed, storage, memory, cooling, and any peripherals you do not already own. A seemingly affordable build can become poor value if it leaves no room for reliable cooling or sufficient storage.
For a second opinion on system requirements before buying, use our Can My PC Run This Game? guide. Once your machine is built, graphics settings can be balanced with the advice in our Performance Mode or Quality Mode guide.
How to estimate
Use a three-stage estimate: performance, total cost, and upgrade value.
1. Set the performance target
Choose a target resolution, a practical frame-rate range, and the quality settings you would accept. Do not treat a manufacturer’s minimum system requirement as a guarantee of a smooth experience. Minimum specifications generally indicate that a game may launch, while recommended specifications provide a more useful starting point. Check whether the listed requirements apply to a particular preset, resolution, upscaling mode, or frame-rate target.
For demanding games, leave headroom rather than building exactly around one title. New patches, larger environments, visual updates, and background applications can change the workload over time. If you play competitive games, prioritise consistent frame delivery and low latency over visual settings that provide little practical benefit.
2. Calculate the complete cost
Use this formula:
Total build cost = core components + cooling and case costs + operating system costs + peripherals + delivery or assembly costs − reusable parts.
Core components are the processor, graphics card, motherboard, memory, storage, power supply, and case. Reusable parts may include an existing monitor, keyboard, mouse, licence, or storage drive, but check their condition and compatibility before assigning them a value.
Divide the available budget into priorities. If gaming is the main purpose, allocate more of the budget to the graphics subsystem, then make sure the processor, power delivery, cooling, and storage do not create an obvious restriction. If you also render, stream, compile software, or run several applications at once, the processor and memory may deserve a larger share.
3. Estimate upgrade value
A component is easier to upgrade when the rest of the system can support it. Ask whether the motherboard has the required socket and firmware support, whether the power supply has enough capacity and the correct connectors, whether the case has space for a larger card, and whether the cooling solution can handle a faster processor.
Do not pay a large premium solely for a theoretical future upgrade. Platforms, connectors, memory standards, and firmware support can change. Instead, identify the upgrades you are genuinely likely to make and buy around those: for example, reserving a storage slot, choosing a case with room for longer graphics cards, or installing a power supply with sensible headroom.
Inputs and assumptions
Record these inputs before choosing parts. Keeping them in a spreadsheet makes the build easier to compare and update.
- Games and software: list demanding titles, creative applications, streaming tools, and any software with specific hardware requirements.
- Display target: record resolution, refresh rate, adaptive-sync support, and the number of monitors.
- Budget: set a maximum total, then separate essential spending from optional extras such as lighting, premium fans, or a larger case.
- Form factor: decide whether you want a standard-sized case or a compact build. Smaller systems require more careful checks for cooling, card length, and cable space.
- Processor and motherboard: confirm socket compatibility, supported memory, expansion slots, storage connections, and whether the board may need a firmware update for the chosen processor.
- Graphics card: check physical dimensions, power connectors, recommended power supply guidance, and the outputs needed by your monitors.
- Memory: select a capacity suitable for your games and other work, then verify the motherboard’s supported type, speed, and slot configuration.
- Storage: allow space for the operating system, applications, current games, and future patches. Fast storage does not remove the need for sufficient capacity.
- Power supply: choose a reputable unit with suitable capacity, connectors, efficiency expectations, and physical dimensions. Avoid treating the wattage figure alone as a quality rating.
- Cooling and airflow: confirm that the cooler fits the processor socket and case, then plan a clear front-to-back or bottom-to-top airflow path where the case supports it.
Compatibility tools are useful, but treat their results as a first pass. Check the motherboard, case, cooler, graphics card, and power-supply manufacturers’ specifications as well. Pay particular attention to clearance measurements: a cooler can conflict with tall memory, a graphics card can block expansion slots, and a radiator can occupy space needed by the motherboard or storage.
Assembly checklist
- Work on a clean, non-carpeted surface and keep component manuals nearby.
- Install the processor, memory, and primary storage on the motherboard before placing it in the case when the case layout makes this easier.
- Apply thermal material according to the cooler’s instructions. Do not remove protective film from the cooler’s contact plate until installation.
- Fit the motherboard standoffs correctly; never allow the board to rest directly against the case.
- Install the power supply and route the main cables without sharply bending them at connectors.
- Mount the motherboard, cooler, graphics card, and remaining drives securely.
- Connect the motherboard power, processor power, storage, front-panel, fan, and graphics-card cables. Use the motherboard manual for front-panel headers.
- Check that no loose screws or unused protective films remain inside the case before closing it.
For the first boot, connect only the essentials: monitor, keyboard, and power. Enter the firmware interface, confirm that the processor, memory, storage, and fans are detected, and set the correct boot device. Install the operating system, motherboard and graphics drivers, firmware updates where appropriate, and essential monitoring tools. Take a baseline temperature and performance reading before changing settings.
Worked examples
Example A: a balanced gaming build
Suppose the target is modern games at a chosen resolution using a high-quality preset, with no regular video editing or heavy productivity work. The sensible process is to select a graphics card that matches that display target, pair it with a processor that will not regularly limit performance, and use enough memory and storage for the current library.
The estimate should include the case, cooling, power supply, and operating system rather than comparing graphics card prices alone. Add a reserve for delivery, replacement cables, or a storage expansion. Before buying, check the graphics card length against the case, the cooler height against the side panel, and the power-supply connectors against the graphics card specification.
Example B: a mixed gaming and creation system
For a PC that will also edit video, stream, compile projects, or run several applications, start with the software requirements rather than assuming a gaming-only balance will be suitable. Additional memory, faster or larger storage, and a stronger multi-core processor may improve the overall experience. Keep the graphics target clear so that non-gaming spending does not reduce the performance needed for the games you actually play.
In both examples, record expected results before building: target resolution, frame-rate range, game settings, and the benchmark or repeatable in-game scene you will use. After installation, test the same scene with the same settings. This gives you a useful baseline instead of relying on memory or inconsistent gameplay situations.
Reusable upgrade-path template
- Current limitation: identify whether the problem is frame rate, stutter, loading time, memory use, storage capacity, noise, or temperature.
- Evidence: record frame rates, frame-time consistency, temperatures, utilisation, and available storage during the problem.
- First upgrade: choose the component most directly connected to the limitation.
- Compatibility check: verify socket, firmware, power, clearance, connectors, and cooling.
- Expected outcome: write down the improvement you expect and the games or applications it should affect.
- Re-test: repeat the same benchmark after installation and keep the result with the date and driver version.
When to recalculate
Revisit this guide before buying parts, after major hardware launches, and whenever component pricing changes enough to alter the balance of your budget. A new processor or graphics card can change which combinations offer sensible value, while a motherboard firmware update may affect processor compatibility. Refresh driver, operating system, firmware, and diagnostic-tool links whenever a major vendor release changes the setup process.
Existing owners should use this maintenance schedule:
- Monthly: check free storage, install trusted operating-system and driver updates, inspect temperatures, and look for unusual fan noise or crashes.
- Quarterly: clean dust filters and accessible vents, inspect cables and fans, review storage health, and repeat a consistent game benchmark.
- After a major game patch: compare performance with your baseline, especially if frame rates, shader compilation, loading, or stutter changes. Our guide to reading game patch notes explains where to look for relevant performance changes.
- Before an upgrade: measure the current limitation first. If storage is the issue, replacing the graphics card may not help; if temperatures are the issue, cleaning or improving airflow may be more appropriate than buying faster hardware.
Keep a simple record containing your component list, firmware version, driver version, benchmark settings, temperatures, and purchase dates. Recalculate the build when one of those inputs changes, not merely because a newer component exists. That habit helps you spend on a measurable improvement, maintain stable performance, and build a gaming PC that remains useful as your games and priorities change.